How to Use Blend tool and Pencil tool in Adobe Illustrator
Blend Tool in Adobe Illustrator
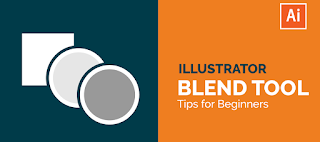
The Blend Tool is located in the Tool Bar and is identified by two circles; one filled with a dot and a square. When using the Blend Tool, you can control how much the first shape blends into the second shape by selecting appropriate options from the Tools Options Window. For now, let's start creating our first blend.
 |
| Source: vectortwist |
The first thing we will do is create two circles of the same size and give each a different fill colour. In my case, I'm using red and green. Set the stroke to none for now since we won't be using it for this blend. After creating your shapes, you can select either shape and use the Selection Tool (Shortcut is V) to drag them onto one another.
Pencil Tool in Adobe IIllustrator
The Pencil tool is a versatile and easy-to-use drawing tool. Use it to draw objects, paths, and shapes freehand.
 |
| Source: digital synopsis |
How to use the Pencil tool:
If you’re new to Adobe Illustrator, here’s a quick overview of how to use the Pencil tool:
1. Click the Pencil tool in the Tools panel.
2. Move the cursor over the artboard. Notice the tooltip that appears when you hover over the artboard (see below).
3. Click once to create a new anchor point. Then, click and drag to create a new path segment (connects anchor points and creates a shape).
3. Press Esc or Double-click on the artboard to end path creation.
Use the Pencil tool “out of the box” for basic shapes and simple paths.
Learn More Adobe Illustrator Tools with Skill India Certificate


Comments
Post a Comment